
Setting up Zapier integration
Zapier integration is a Pro-only feature that connects your LeadPass forms to thousands of other apps — send new leads straight to your email platform, CRM, spreadsheet, or wherever else your workflow lives, without any manual exporting.
Before you start
You'll need:
A Pro plan subscription (Zapier integration isn't available on Free — see Free vs. Pro: What's included)
A Zapier account (a free Zapier account is enough to get started; some destination apps may require their own paid Zapier tier depending on usage)
Step 1: Open Zapier from LeadPass
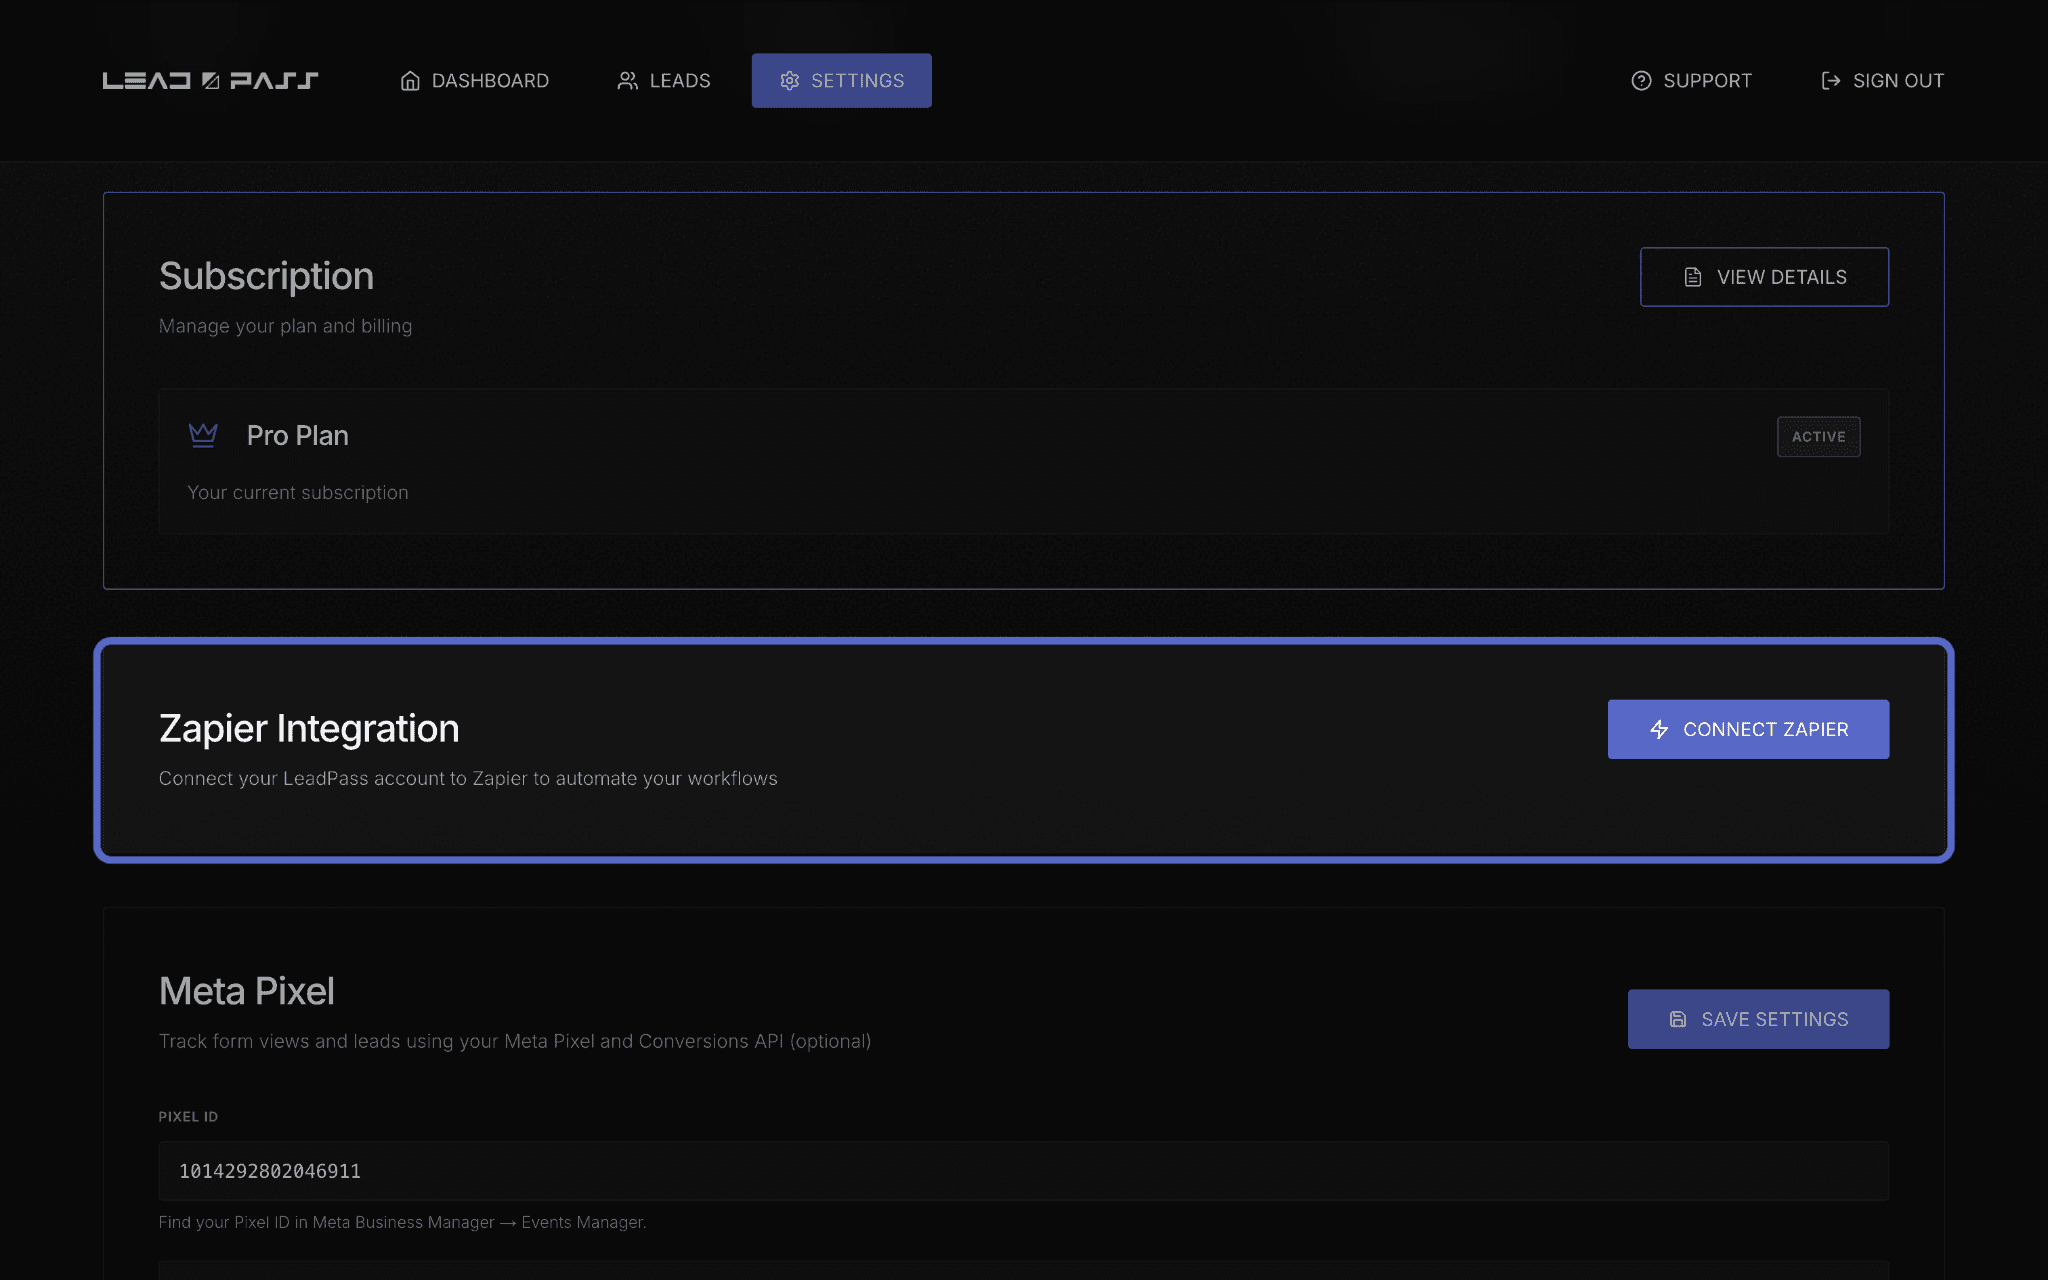
Go to Settings → Zapier Integration and click the Connect Zapier button. This opens Zapier in a new browser tab.
Step 2: Log in or create a Zapier account
If you don't already have a Zapier account, create one for free. If you already have an account, just log in.
Step 3: Create a new Zap
From your Zapier dashboard, click the Create button to create a new Zap.

Step 4: Choose LeadPass as your trigger app
Select a new trigger app, then search for LeadPass in the app list and select it.

Step 5: Choose your trigger event
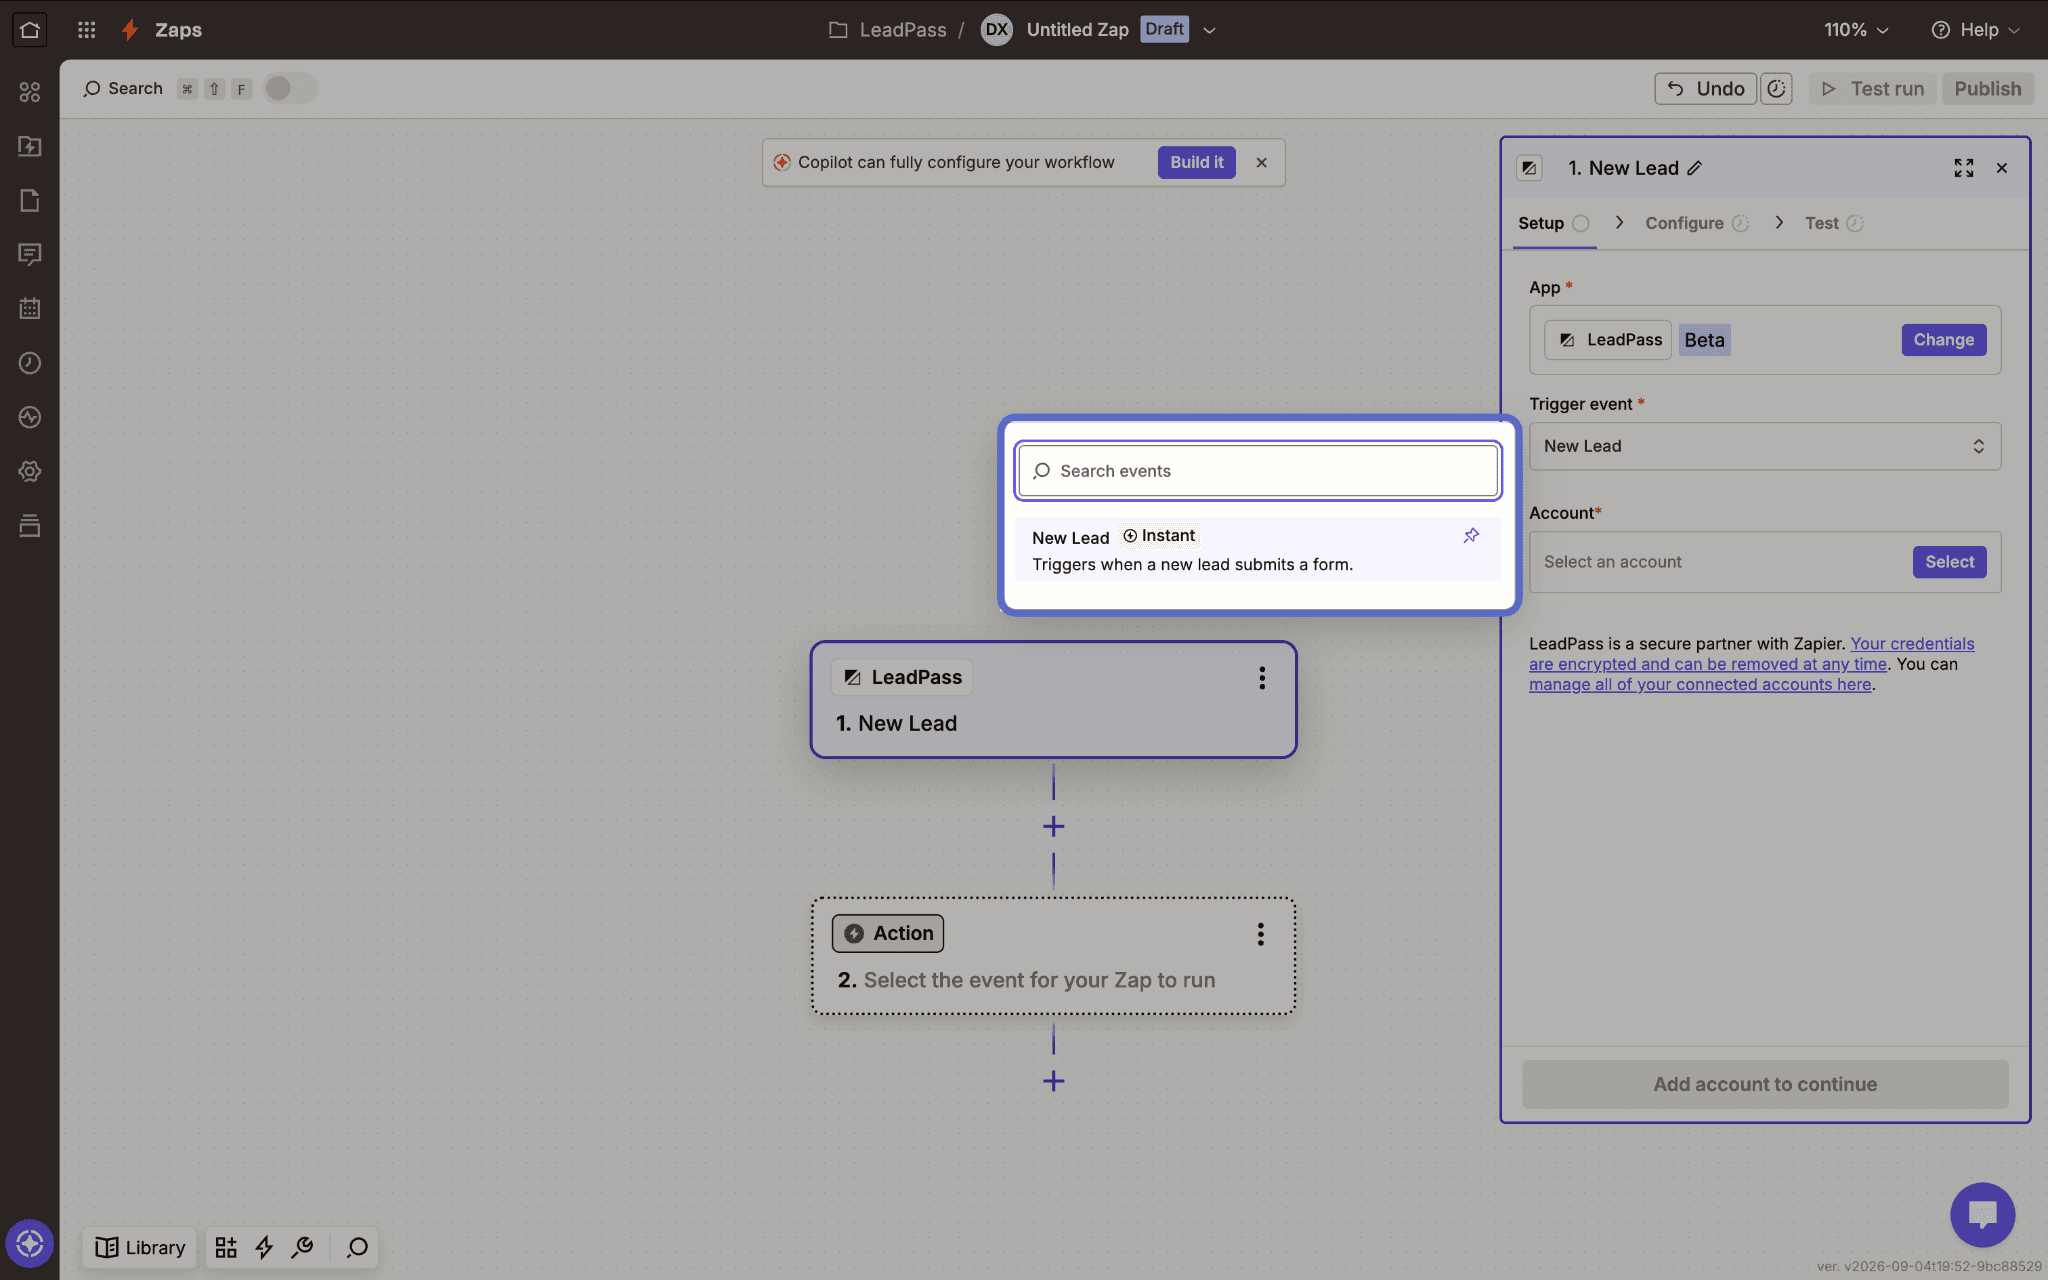
Select New Lead as the trigger event. This is what starts your Zap — every time a new lead comes in on LeadPass, this Zap will fire.
Step 6: Connect your LeadPass account
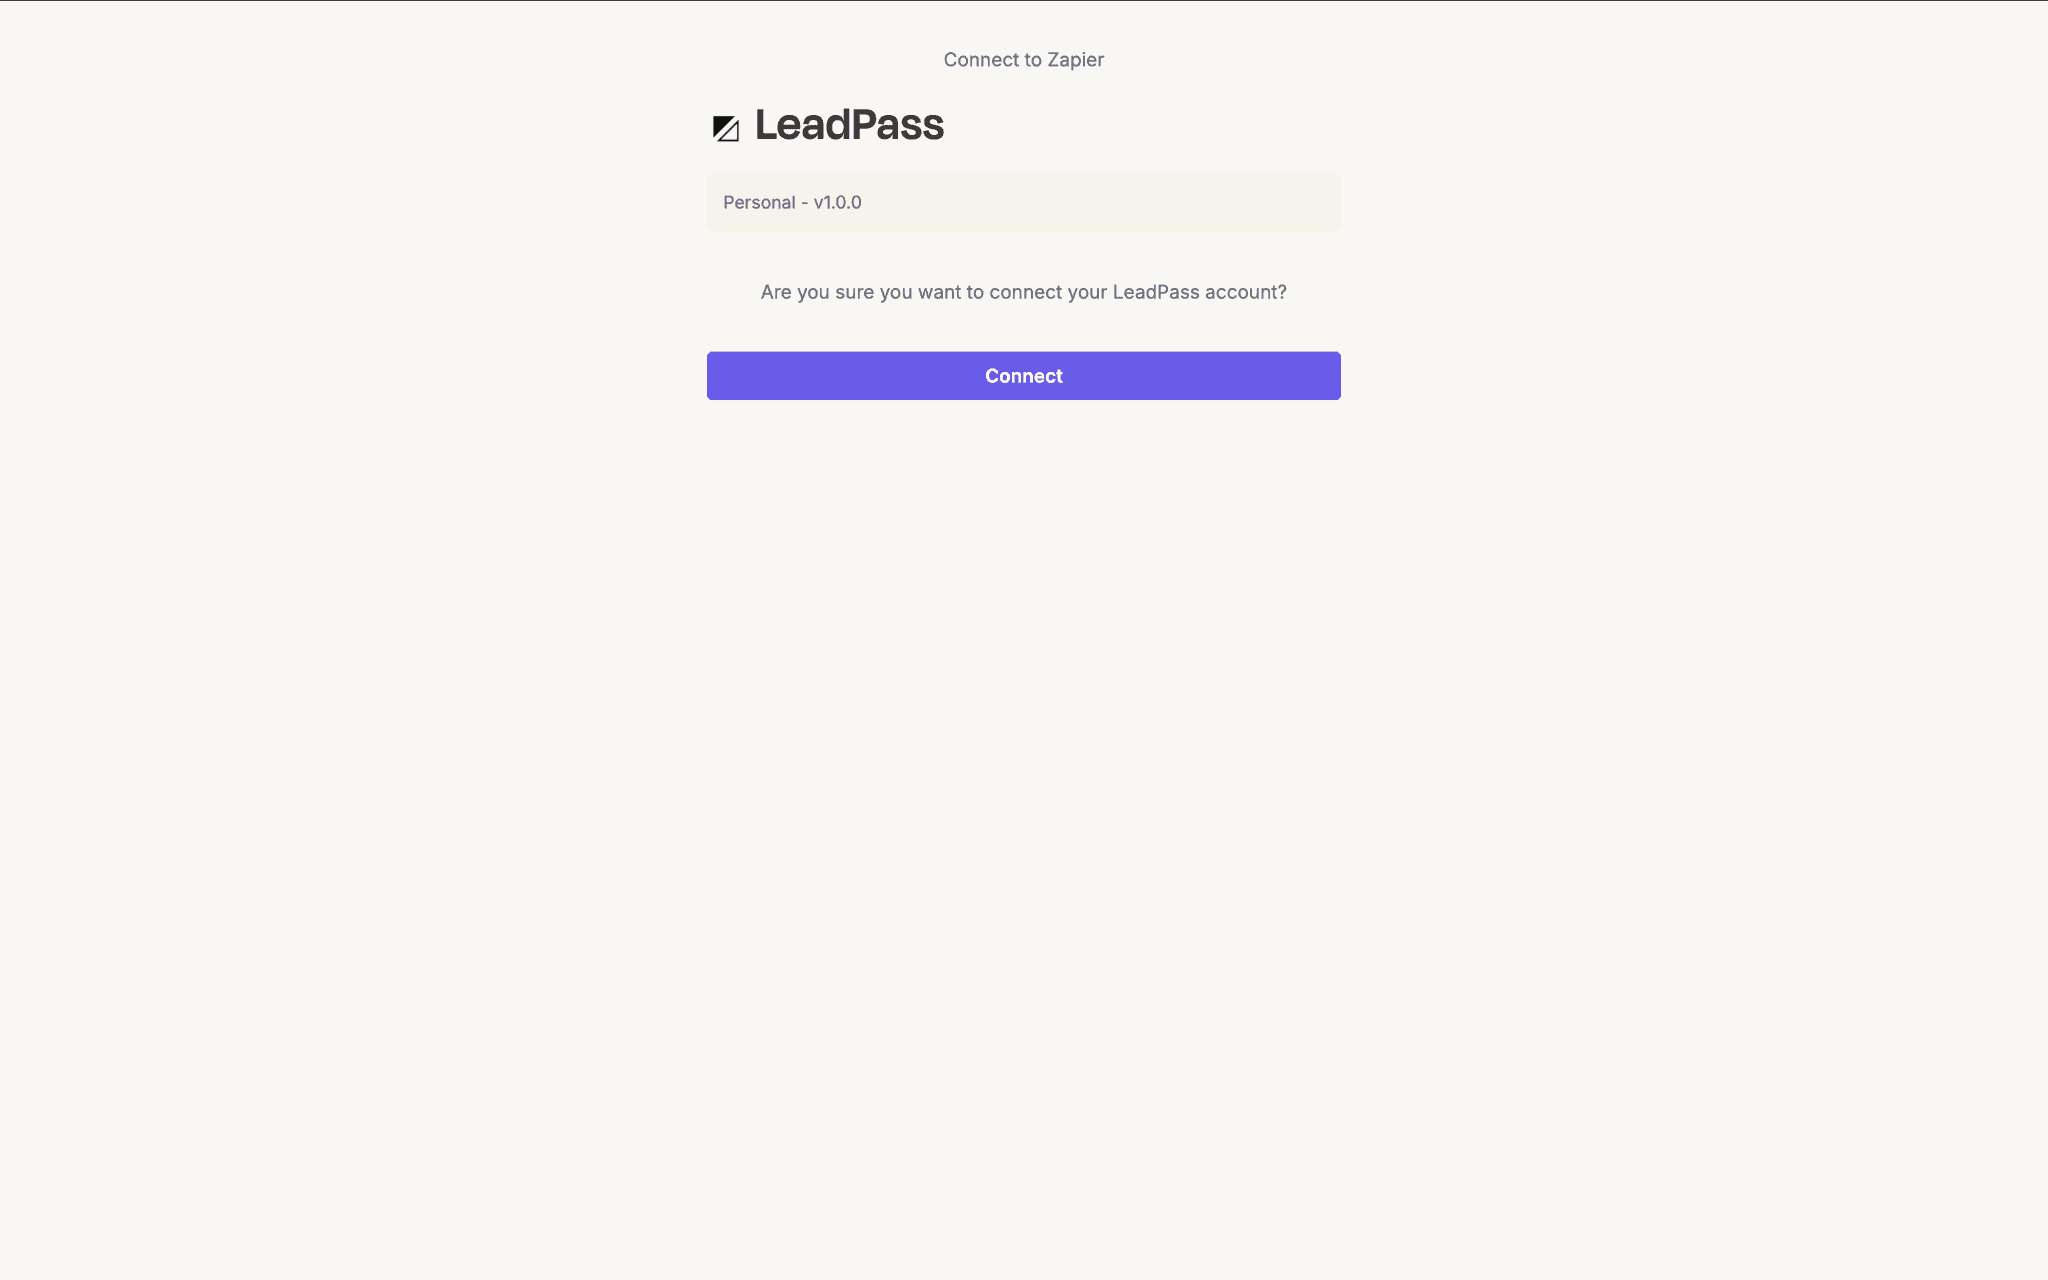
Select your LeadPass account to link it to this Zap. If this is your first time connecting, you'll need to add a new account.
Step 7: Authenticate LeadPass with Zapier
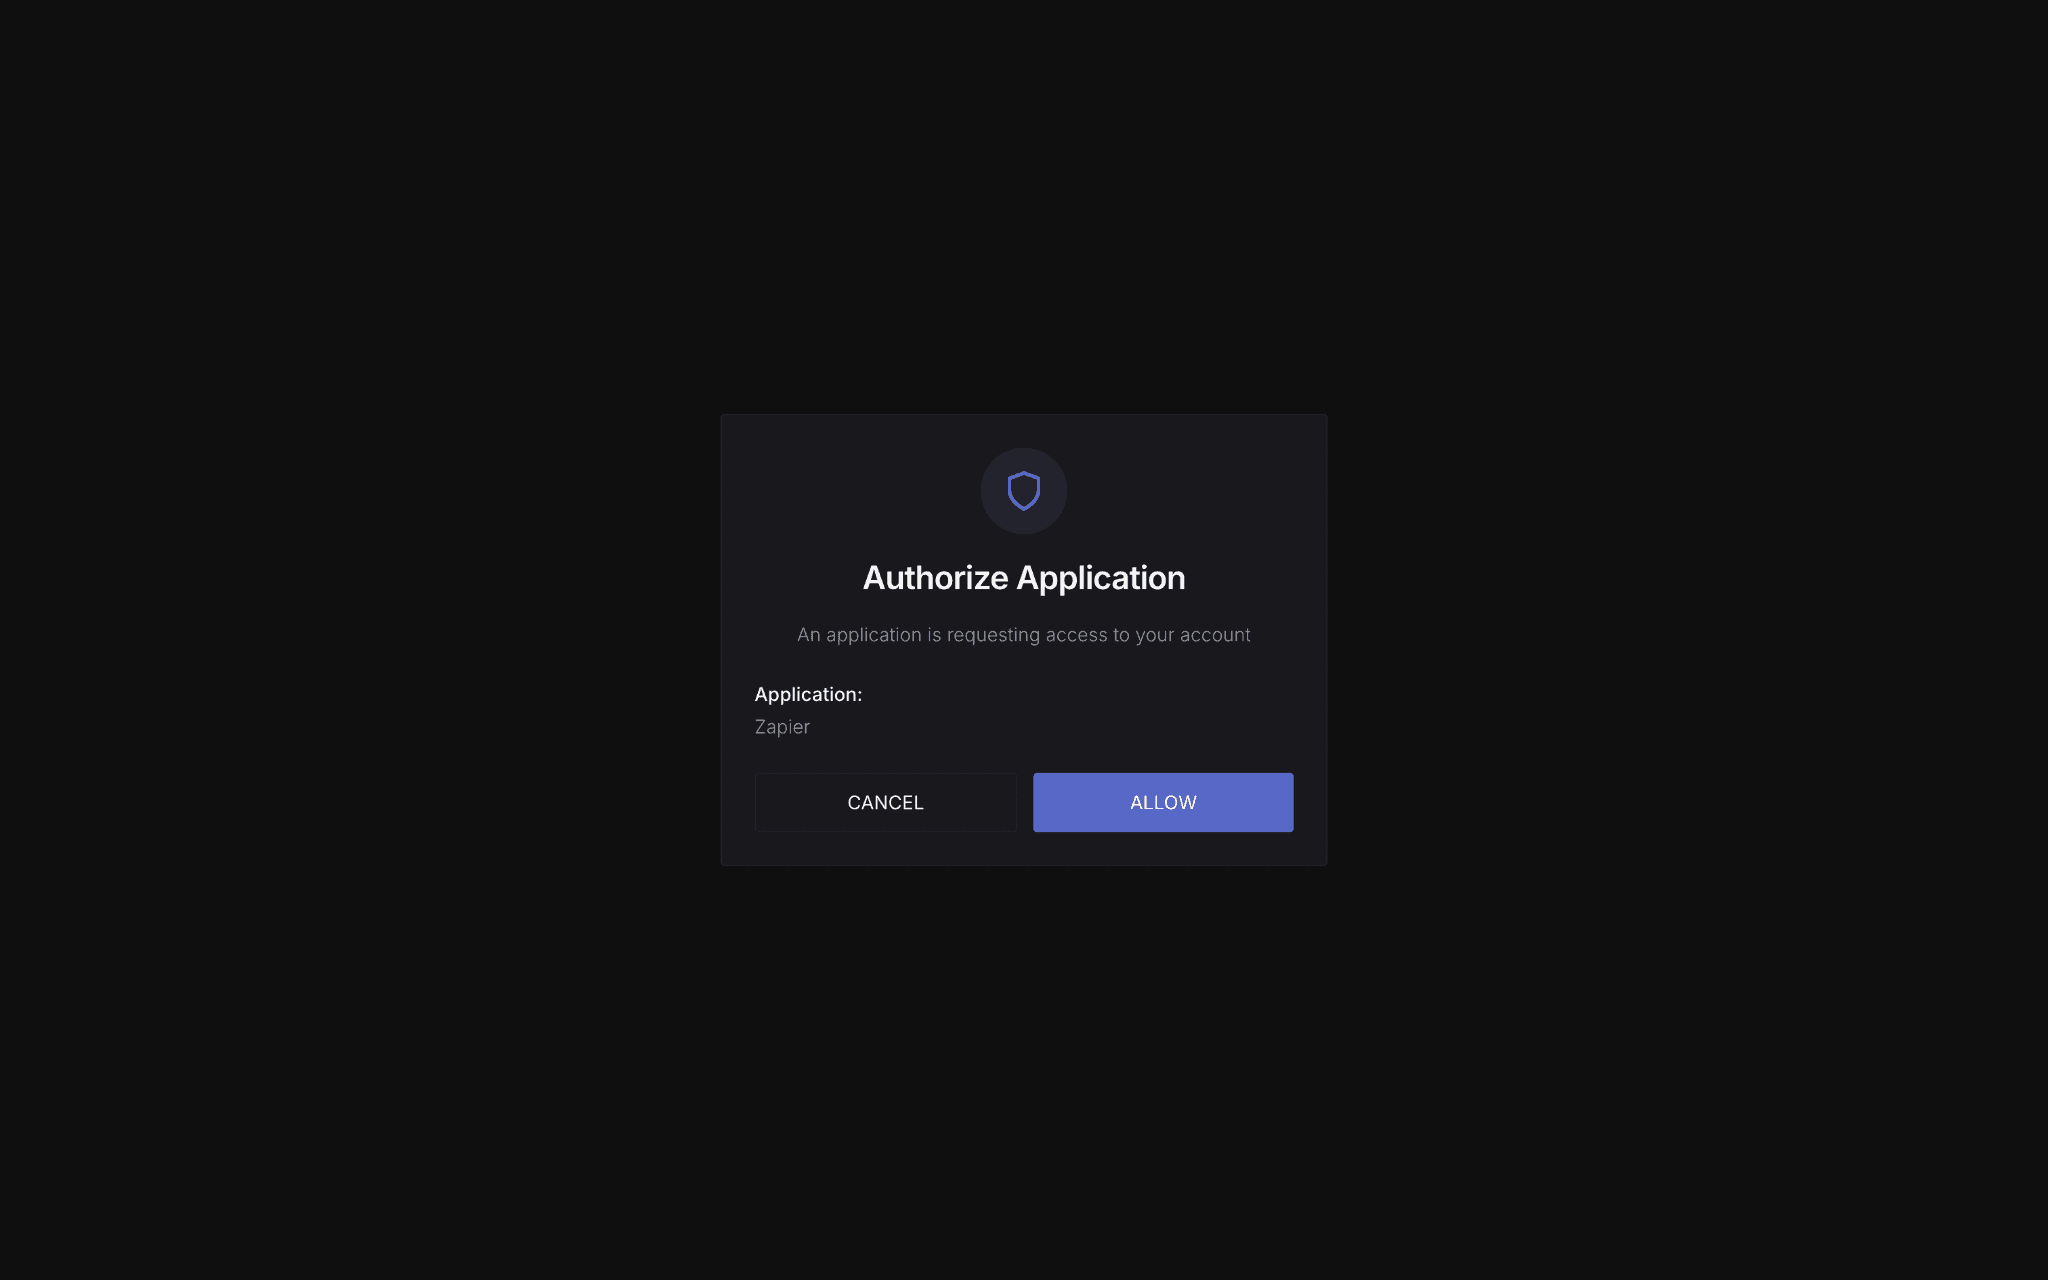
Follow the prompts to authenticate — this confirms Zapier has permission to access your LeadPass data — then click Continue to move on to configuring the specifics of your trigger.
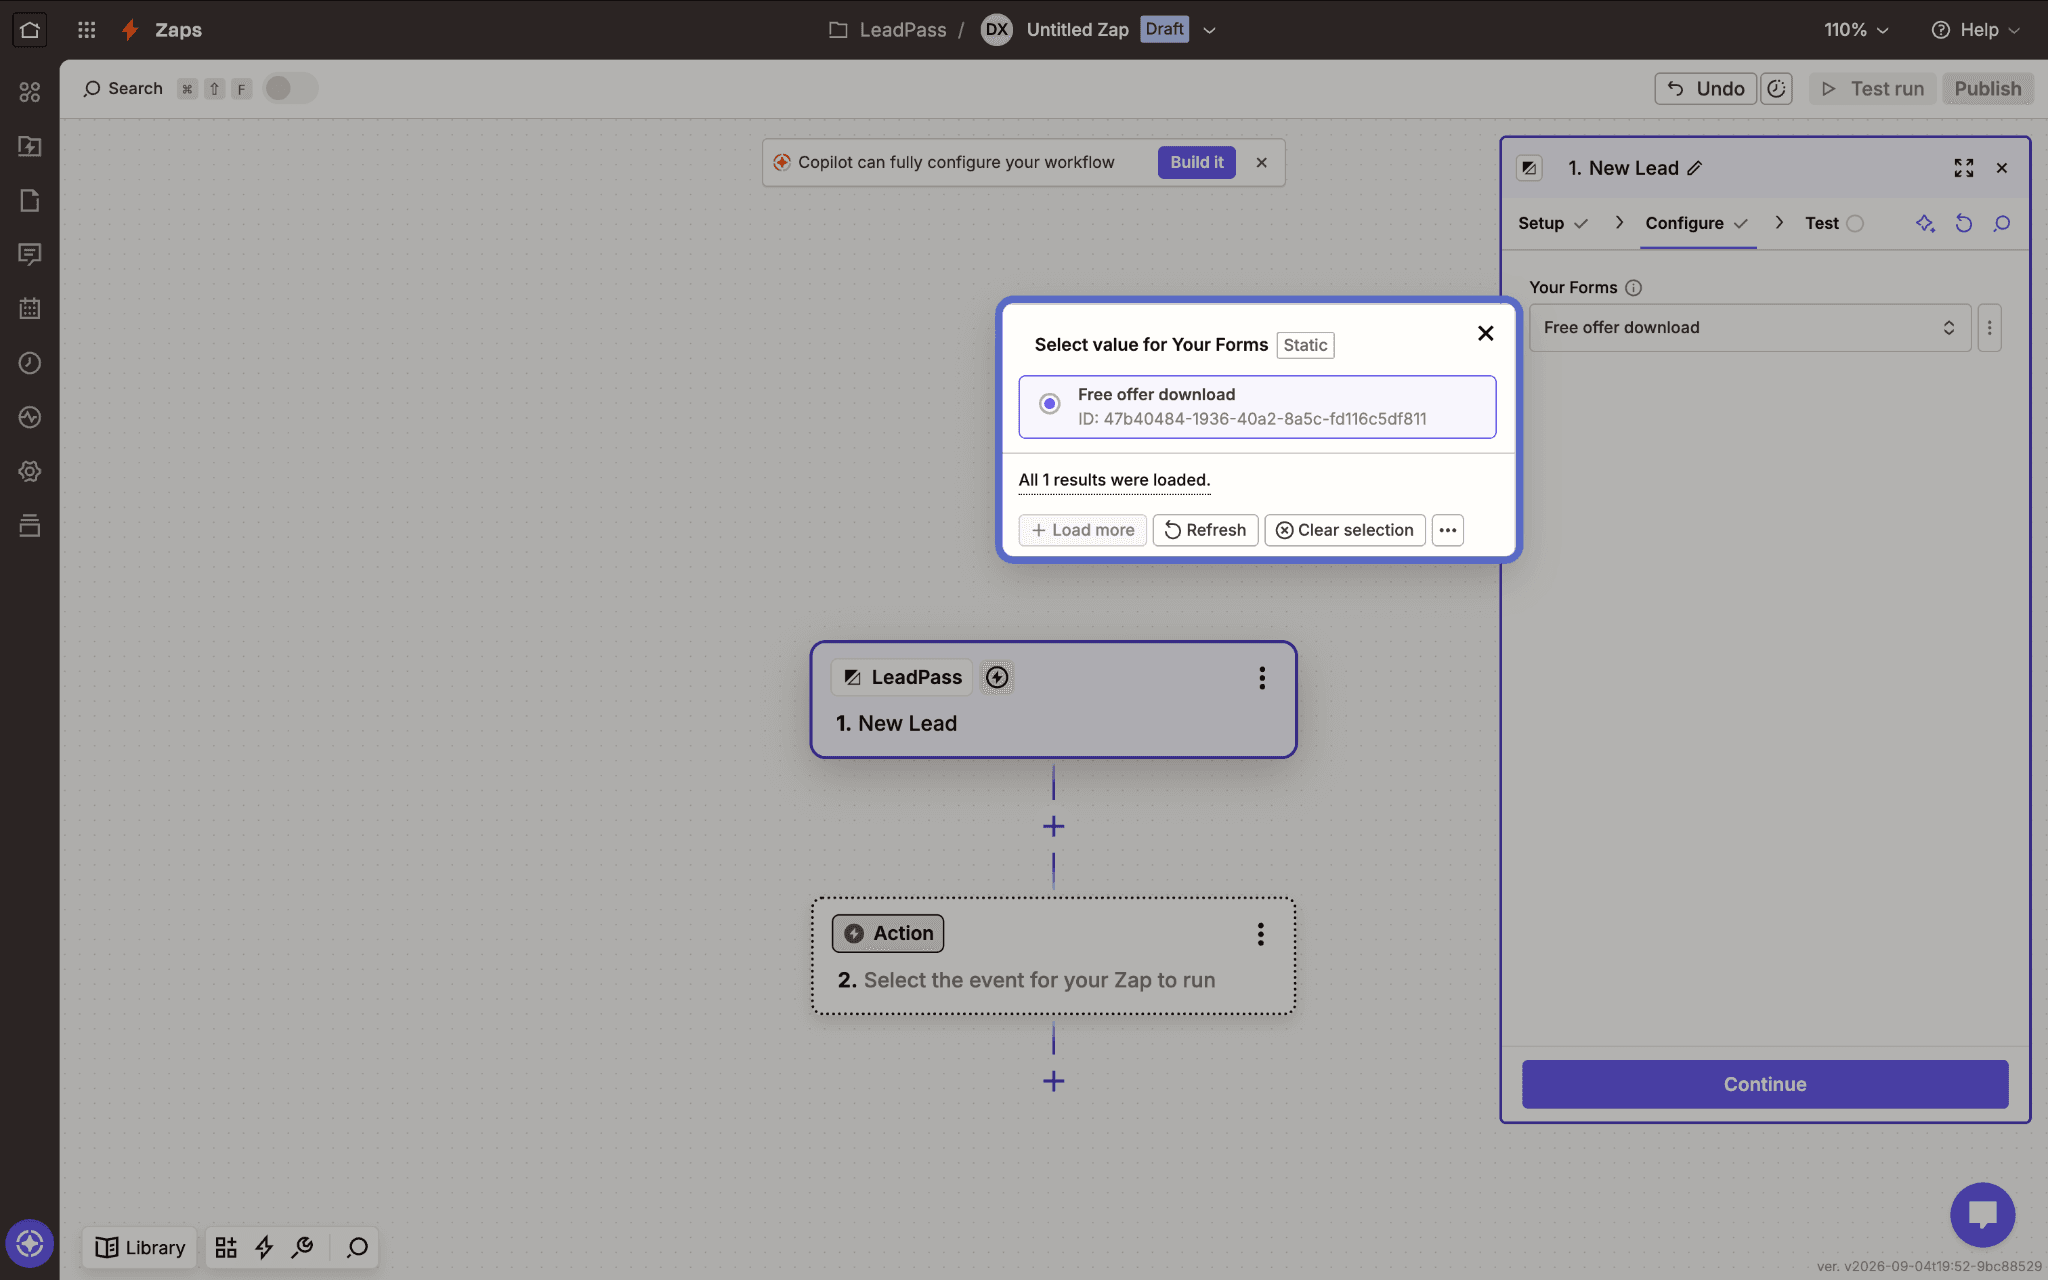
Step 8: Select your form
From the dropdown menu, choose which LeadPass form this Zap should watch for new leads. If you're running multiple forms, this is what narrows the Zap down to just the one you want.
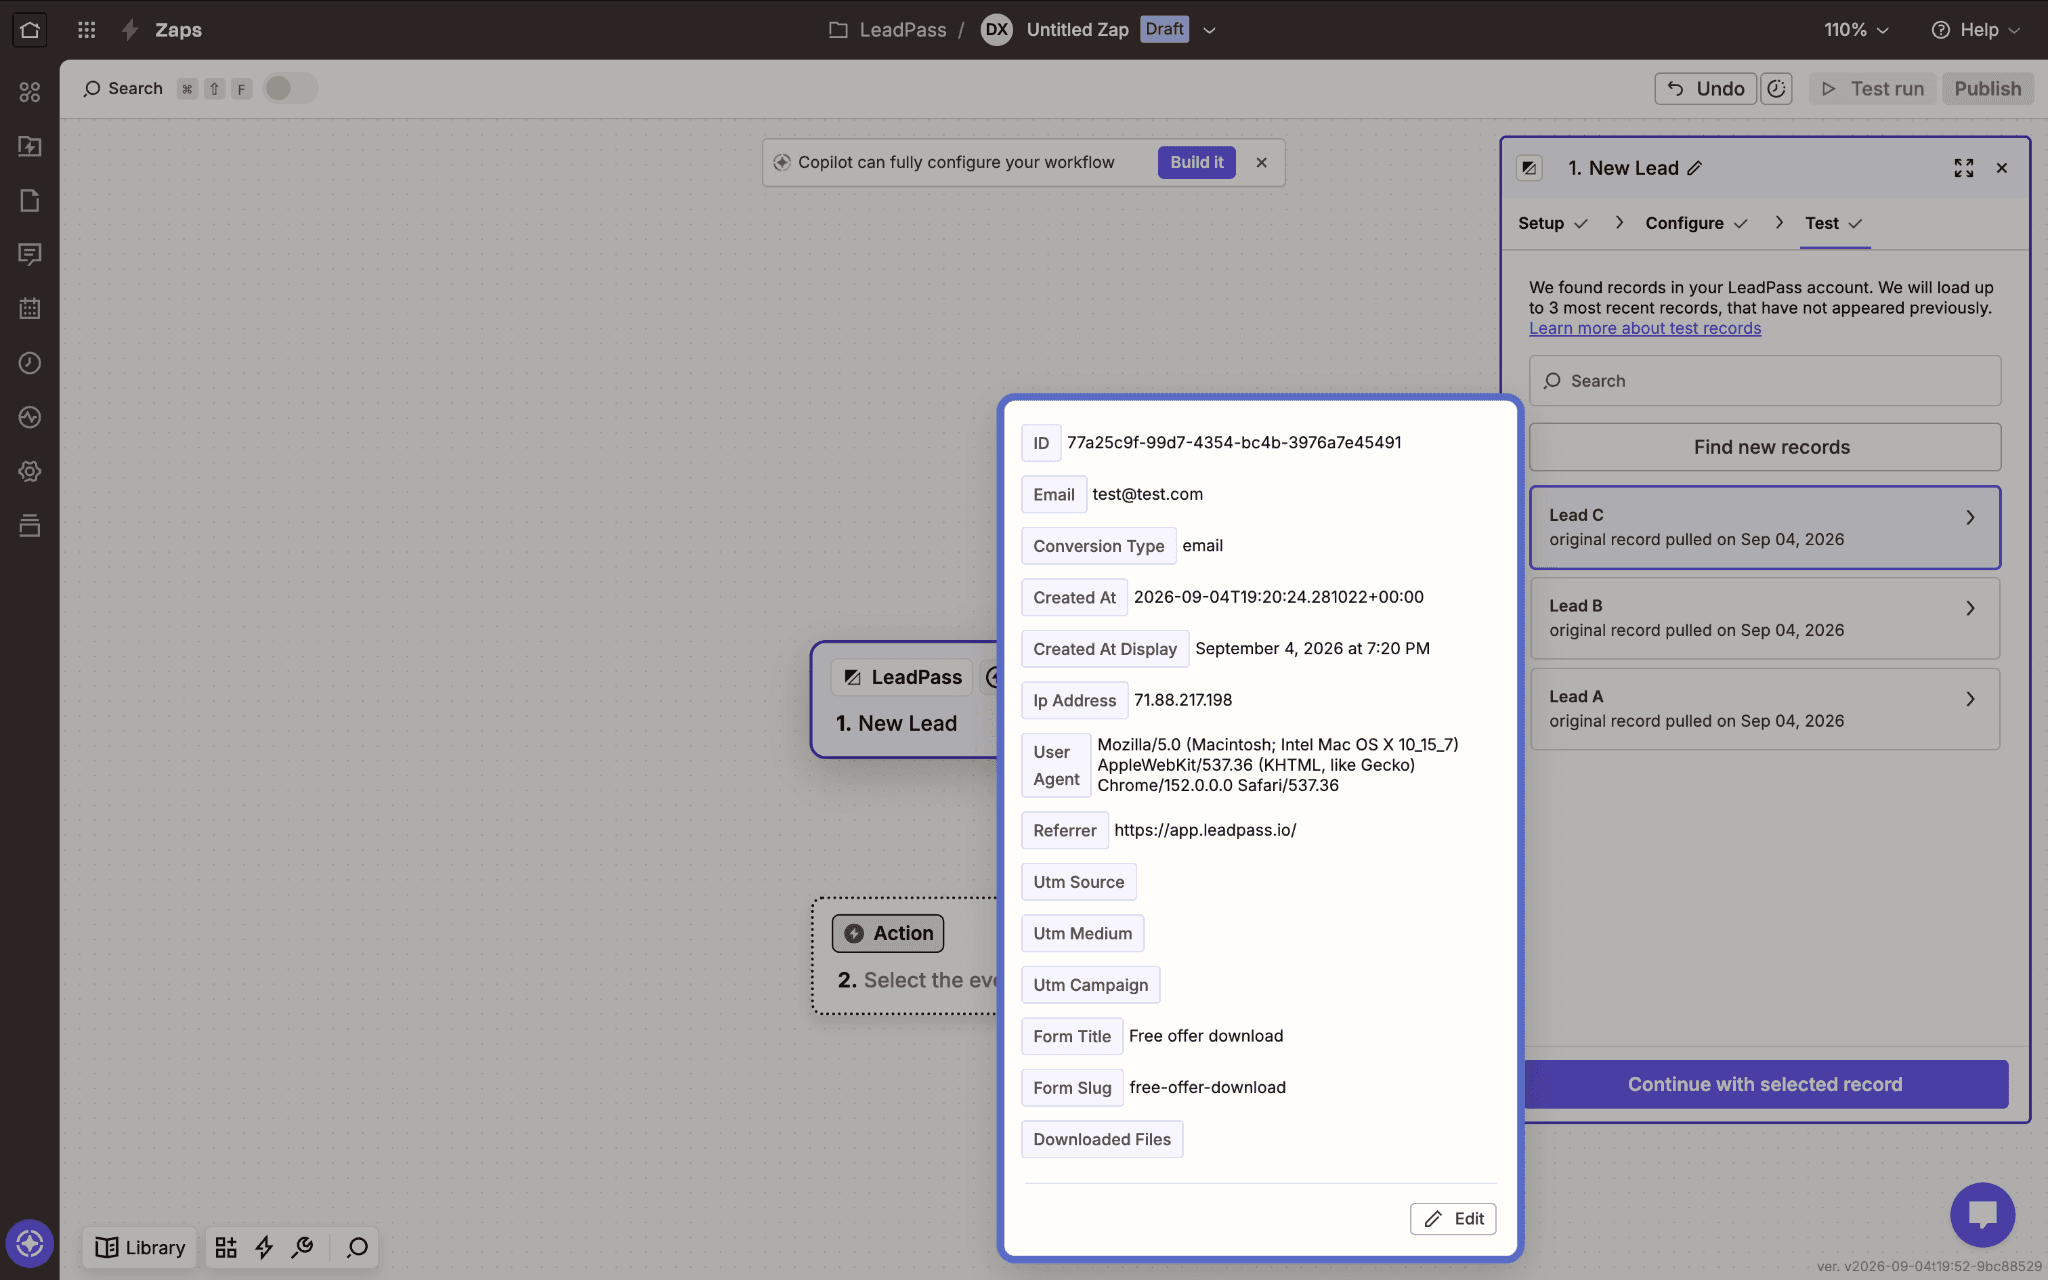
Step 9: Test the trigger
Run Zapier's test step to confirm it can successfully pull a real (or recent) lead from your selected form. A successful test means the connection between LeadPass and Zapier is working correctly. Once confirmed, select Continue with selected record.
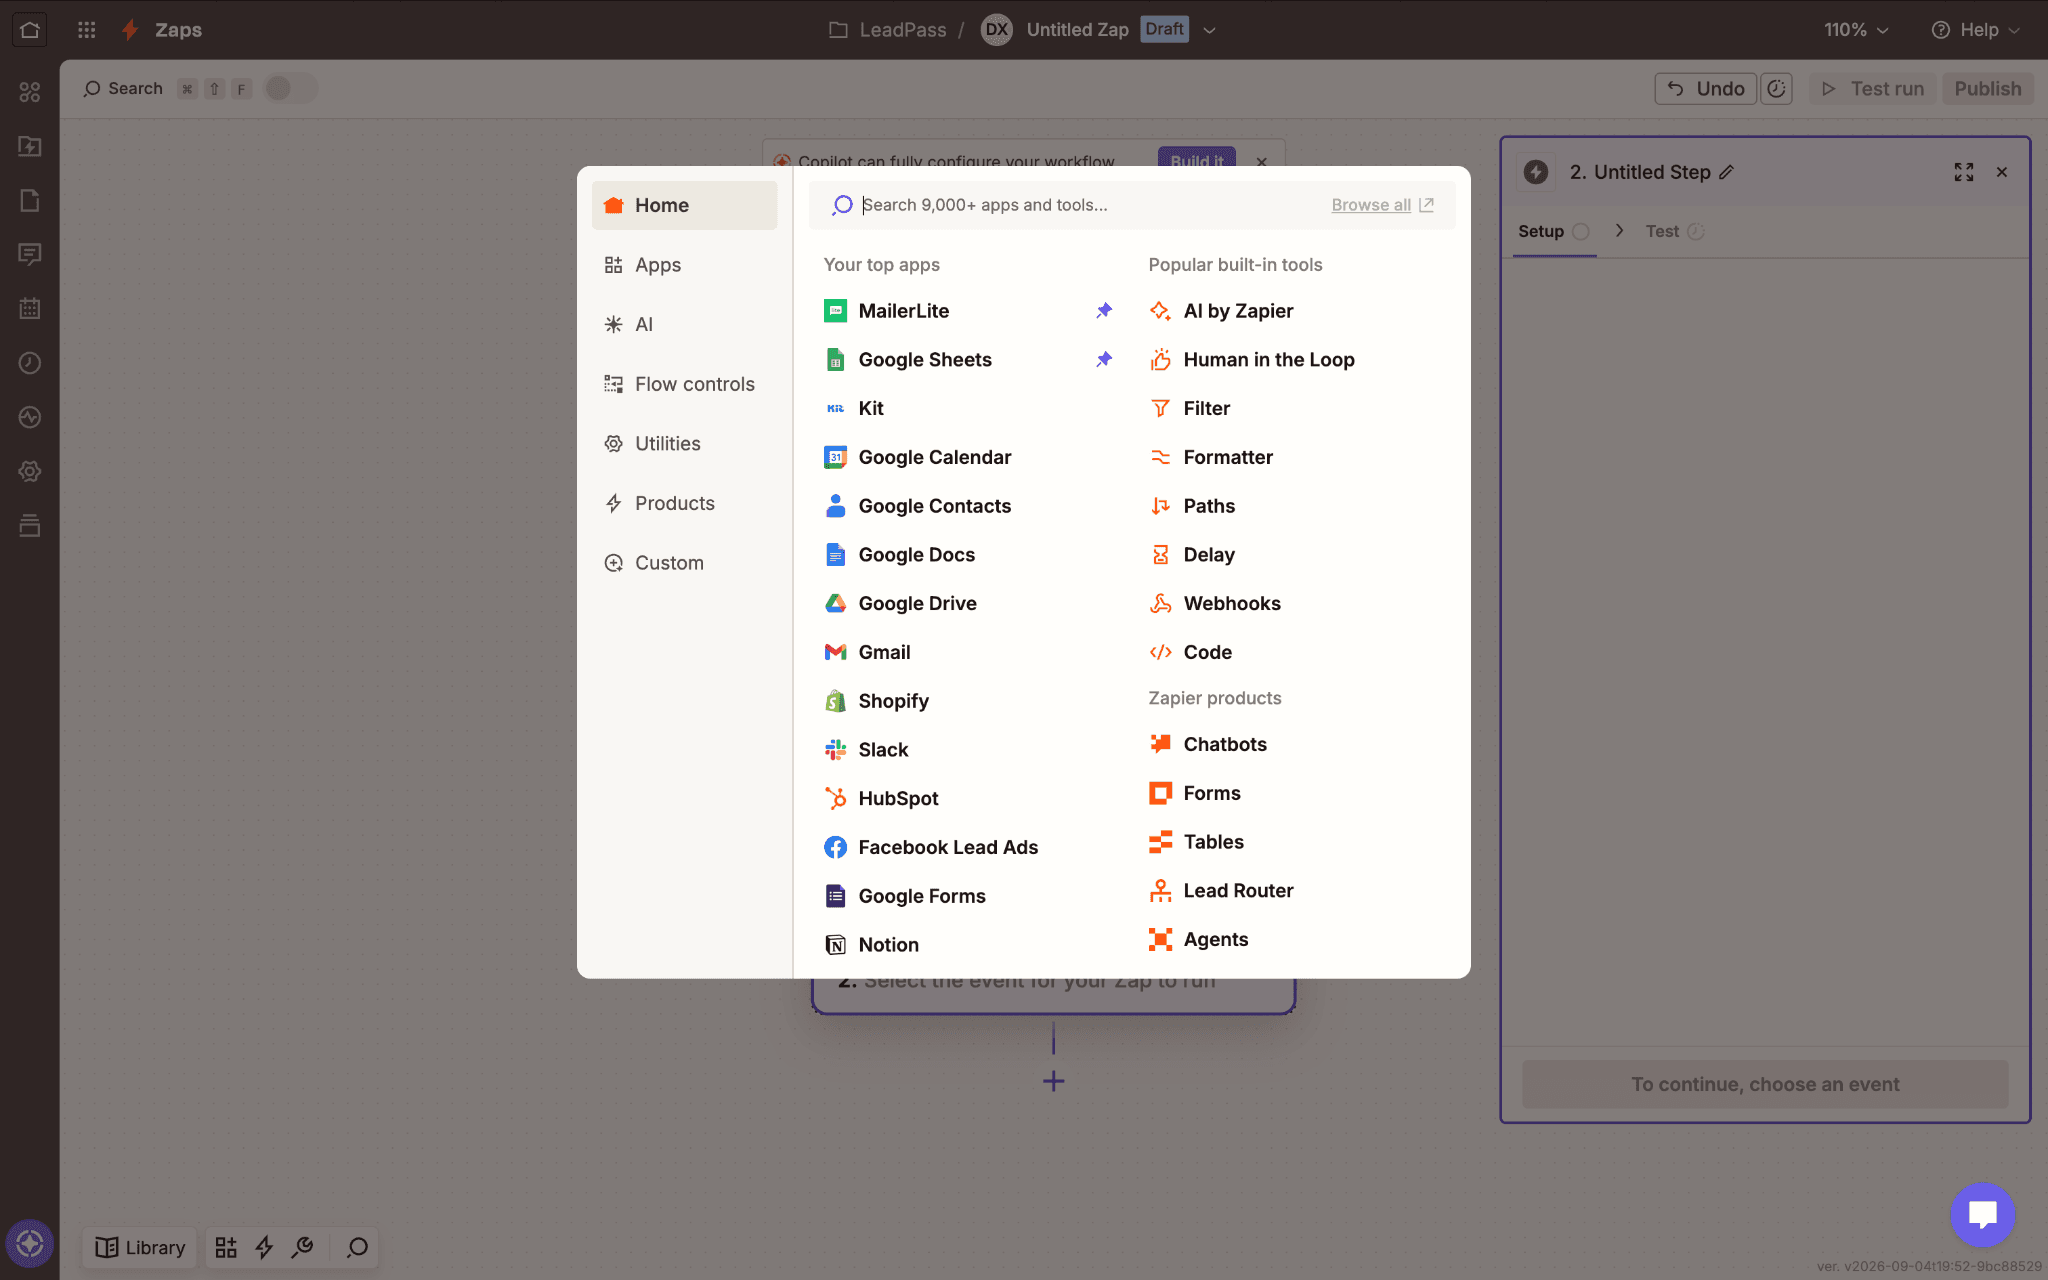
Step 10: Choose your action app
Select the app you want your leads sent to — your email platform, CRM, spreadsheet, or anywhere else — and map your LeadPass lead fields to the corresponding fields in that app.
Once configured, turn your Zap on.
Testing your full Zap
Before relying on it, do one end-to-end test: submit a real (or test) lead through your LeadPass form, then confirm it actually arrives at your chosen destination app. This confirms every part of the chain — trigger, LeadPass connection, and action — is working together, not just the individual pieces.
What's next
Once your Zap is live, new leads will flow automatically wherever you've routed them. If you haven't set up your Meta Pixel yet, see Meta Pixel setup and integration, or head back to Managing & exporting your Leads for everything else you can do with your leads inside LeadPass itself.